Hilarious Text to AI Crochet Pic Fails

“Text to Image” AI is a pretty amazing tool that converts a text description into a computer-generated image. Results from this tool CAN be very impressive, but….not always.

There are some pretty epic and hilarious fails.

I entered the text “19th century woman crocheting a blanket” into the Picsart AI tool. Hilarity ensued. It’s clear that AI doesn’t really understand what crochet hooks are. Also, just because the woman is MAKING crochet, doesn’t mean she should be WEARING crochet.

Exhibit 1

the extra pair of hands is so distracting

Exhibit 2

This woman seems to be crocheting with her nose, and her medium of choice is…hay?

Exhibit 3

It’s not clear what the white helmet-looking thing on her face is. But she looks like she’s in an insane asylum and the creepy woman in the painting is just as bad. Also, no crocheting to be seen in this one!

Exhibit 4

This is a great place to store your yarn bowl. nothing bad could happen.

Exhibit 5

From the ridiclously tiny head to the gigantic arms…all i’ll say is that the dress looks really hot. not like sexy hot, but like…trapping the heat of a thousand suns

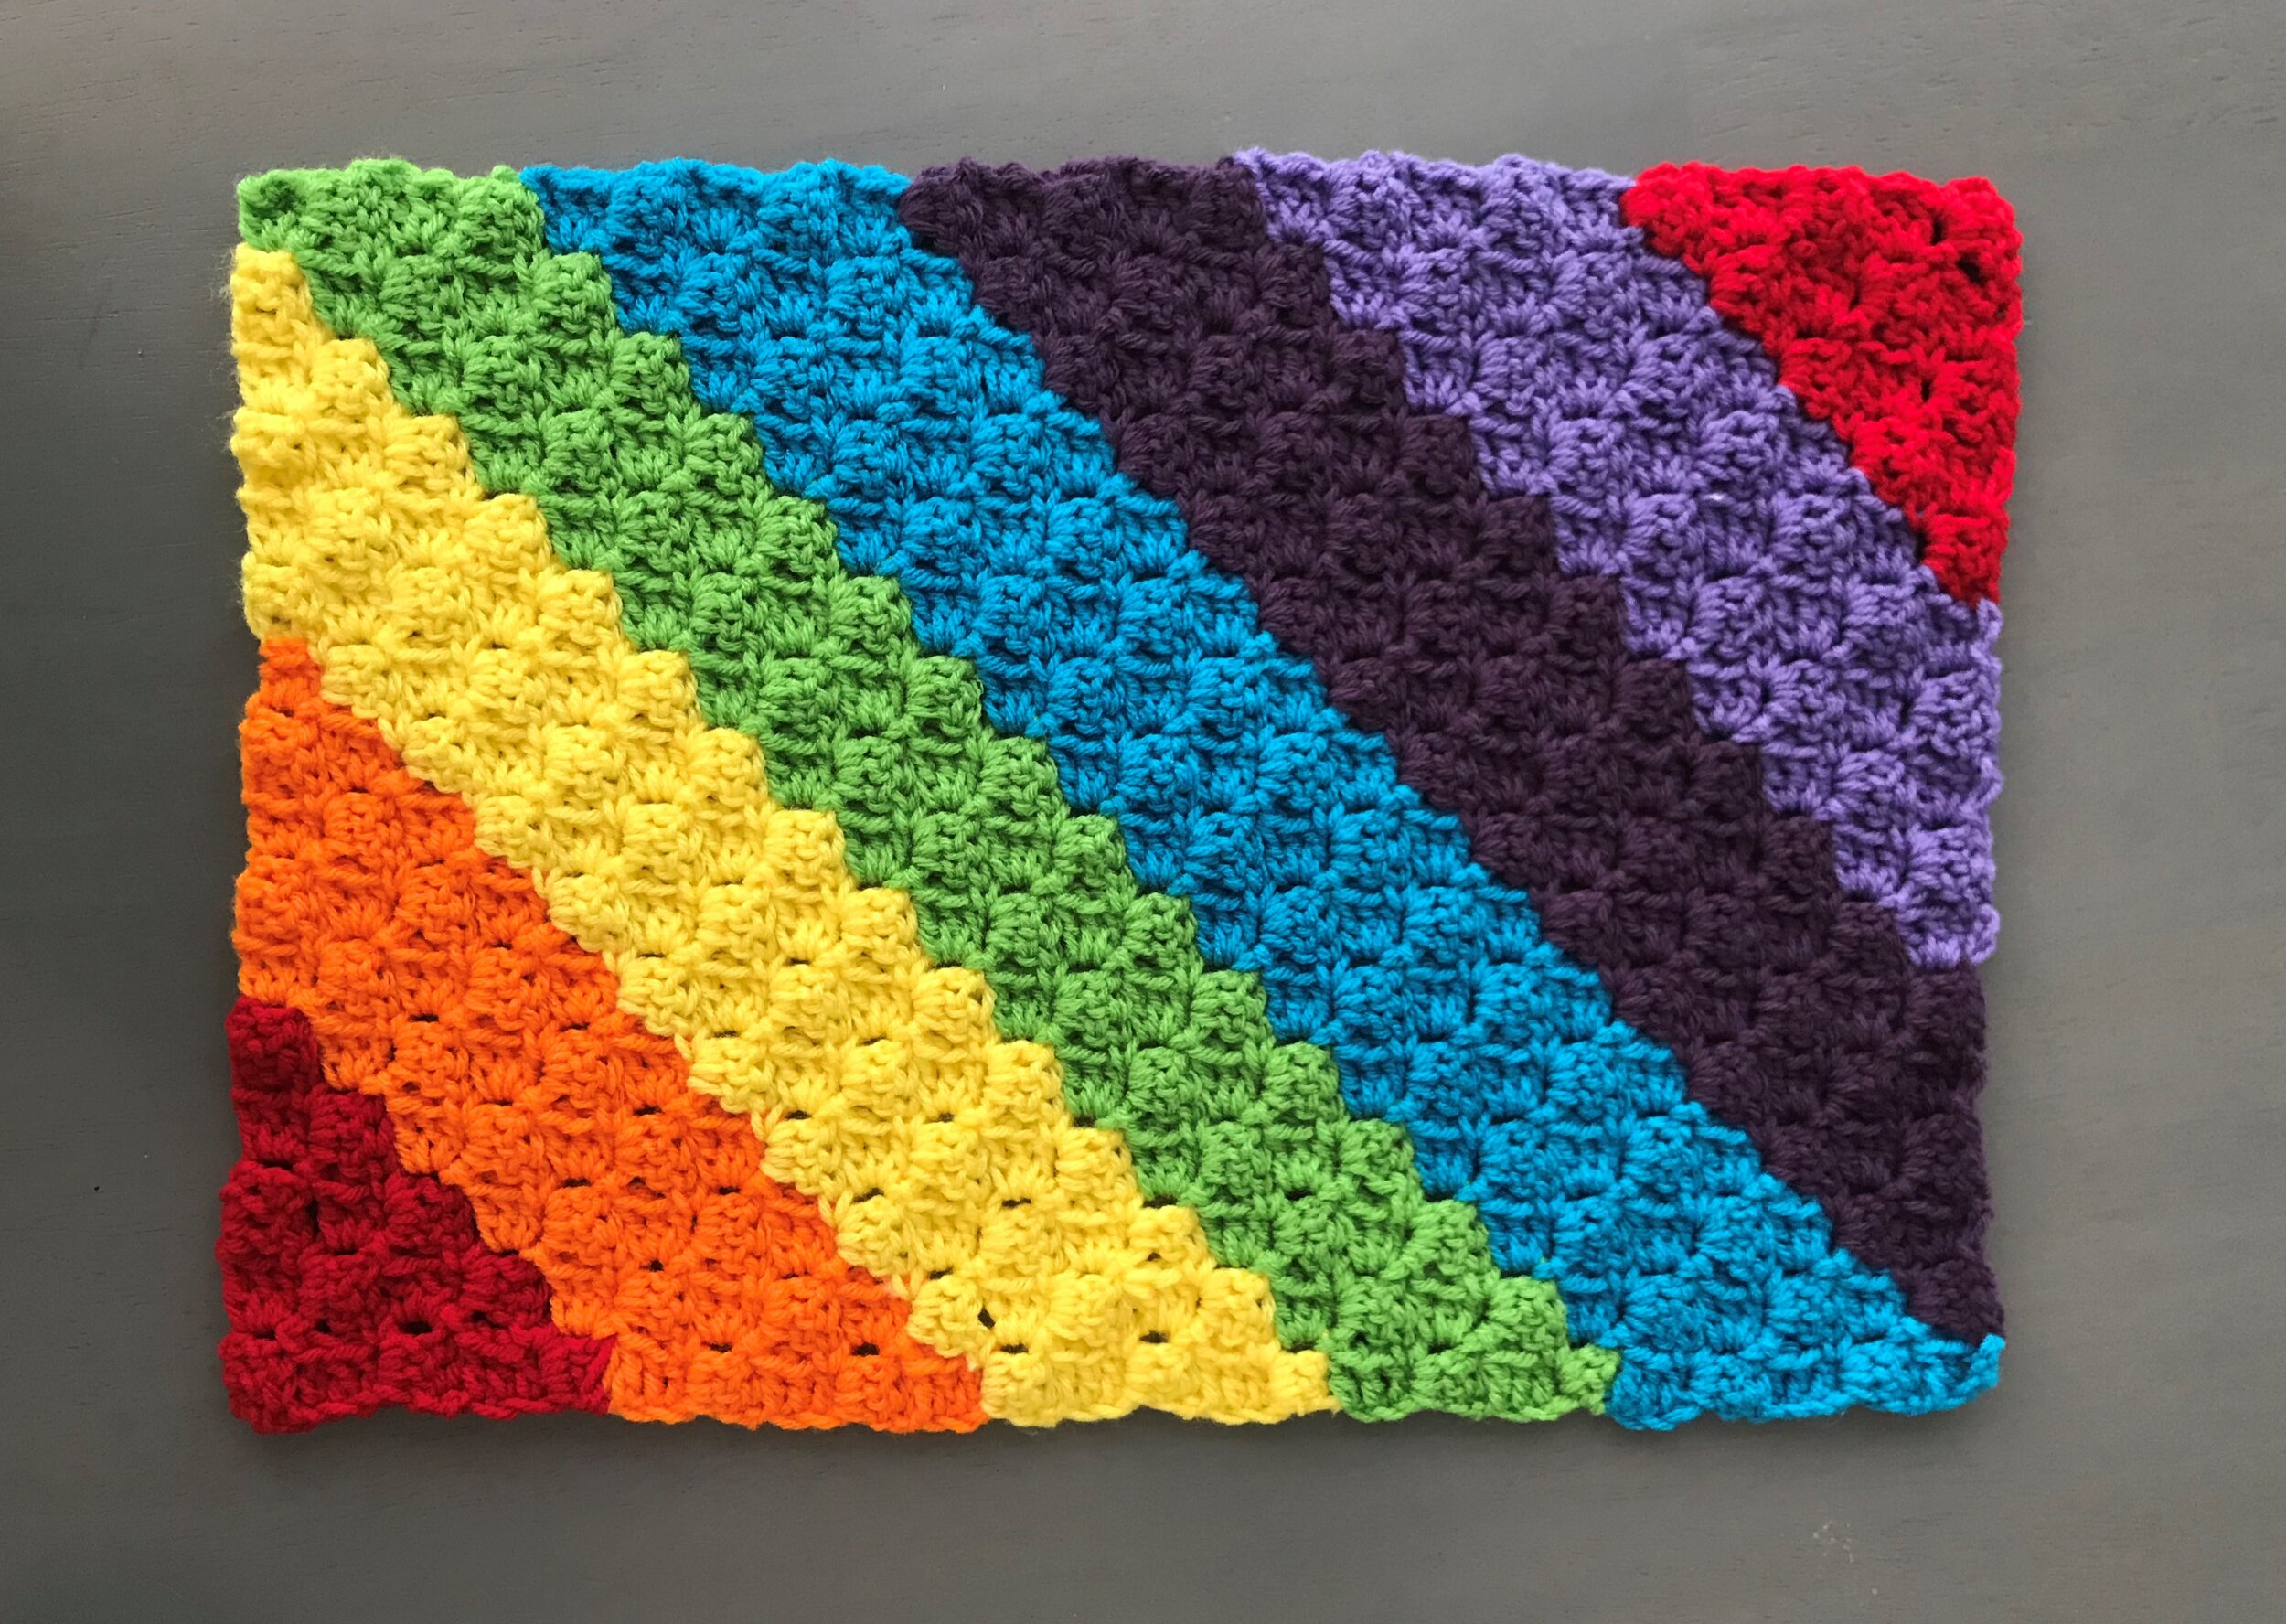
C2C Rainbow Placemat

This is a pretty easy project if you know C2C already. This took me less than 2 hours from start to finish including weaving in ends (and dealing with a giant yarn tangle). If you are observant, you’ll notice in the photo that the green stripe is one row less than the other colors, because I ran out! In the chart, the green stripe is the same size as the others. Just to point that out :)

I used worsted weight yarn and 6 mm hook. Depending on tension, finished object is approx 12” tall and 20” wide. You could put a fluffy white border on the outside to simulate clouds for a little extra something special.

Click here for chart —> Rainbow Placemat

rainbow placemat crochet
Rainbow placemat 2

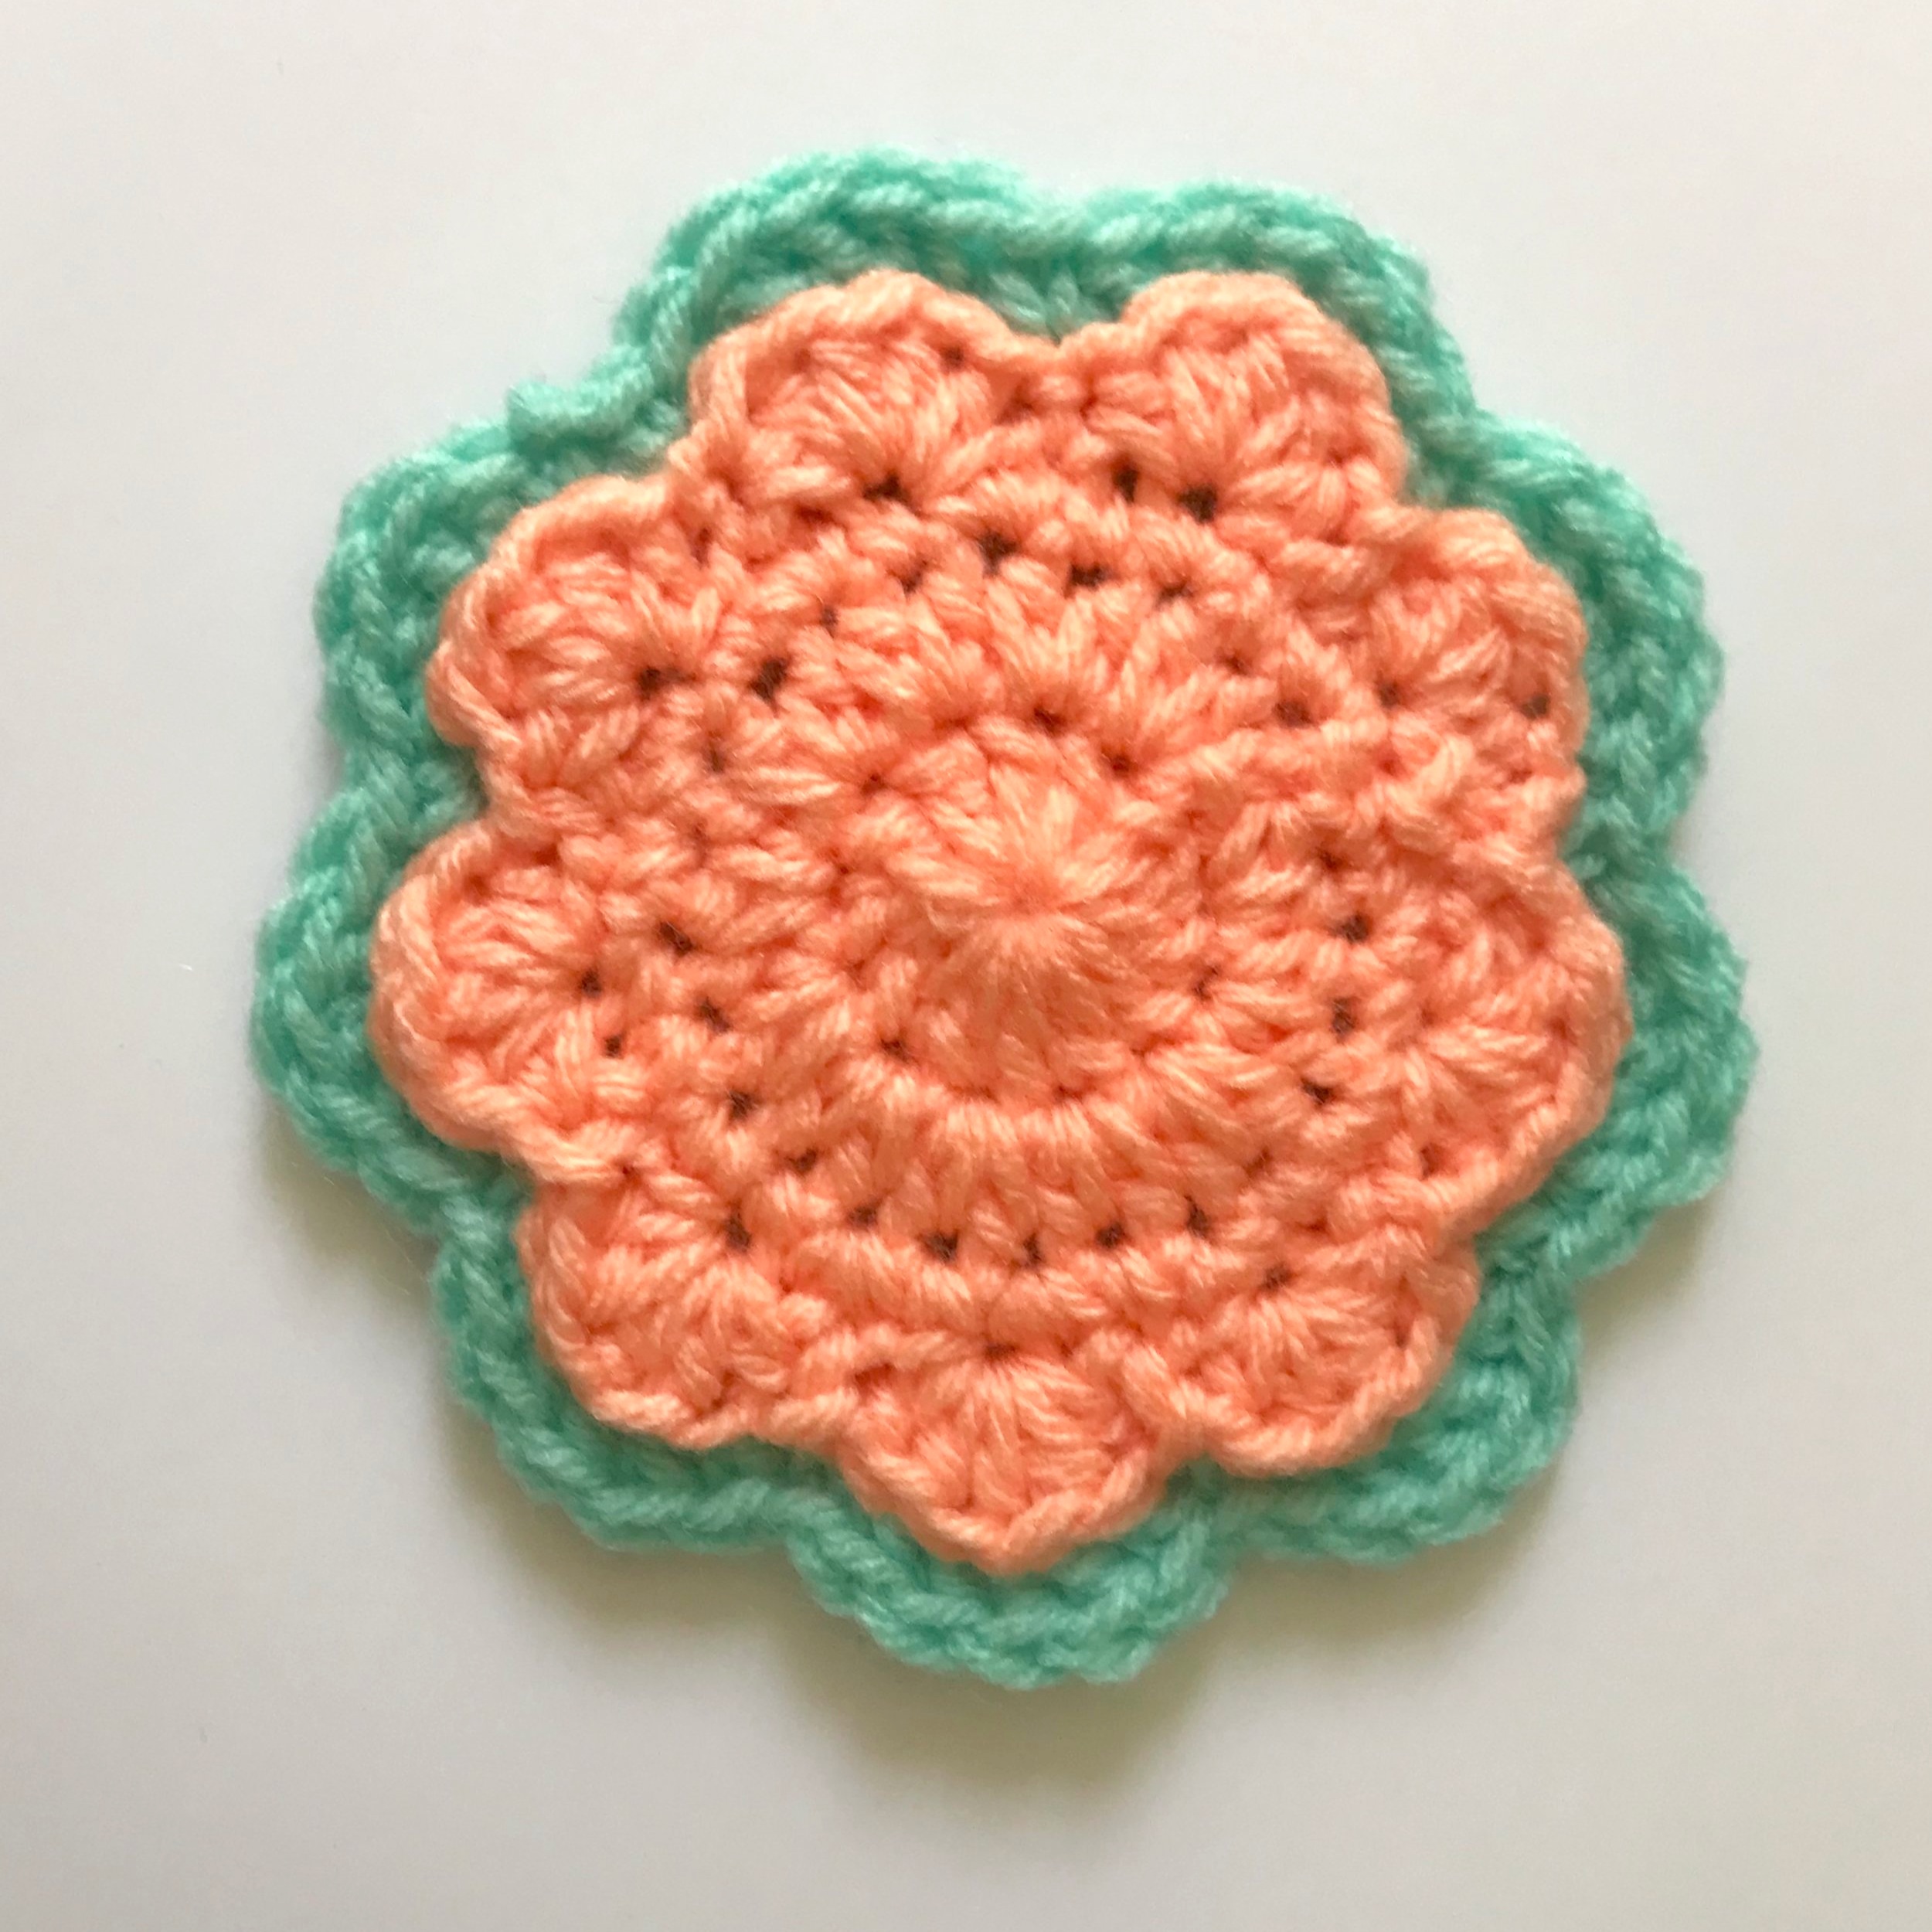
Double Layer Flower Applique

This is an easy pattern for a very simple flower applique. Two flowers of different sizes are worked up and sewn together. Using worsted weight yarn and a 5 mm hook, it measures 4.5” wide at the widest point.

 
crochet_Flower_applique.jpg
 

Materials Needed

  • Worsted Weight Yarn (2 or 3 colors)

  • 5 mm hook (USH8)

  • Tapestry needle

Instructions for Large Flower (pick one color)

Starting Ch 3 does not count as a stitch!

  1. Magic Ring, Ch3, 12 DC in magic ring. Pull tight and join.

  2. Ch3, 2 DC in same stitch. 2 DC in each stitch around (24 DCs). Join to first DC.

  3. Ch3, 2 DC in same stitch. One DC in next st. [2 DC in next, 1 DC in next] 11 times. (36 DCs). Join to first DC.

  4. (Ch3 DOES count as a DC now). Ch3, 5 DC in same stitch. Skip a stitch, sc in next. [Skip a stitch, 6 DC in next, skip stitch, sc in next] repeat 8 times. Join to beginning ch3. FO and weave in end.

Instructions for Small Flower (pick one or two colors)

Starting Ch 3 does not count as a stitch!

  1. Magic Ring, Ch3, 12 DC in magic ring. Pull tight and join. [Optional change color]

  2. Ch3, 2 HDC in same stitch. 2 HDC in each stitch around (24 HDCs). Join to first HDC.

  3. Ch3, 2 SC in same stitch. One SC in next st. [2 SC in next, 1 SC in next] 11 times. (36 SCs). Join to first SC.

  4. (CH2 DOES count as a HDC now). Ch3, 4 HDC in same stitch. Skip a stitch, slip stitch in next. [Skip a stitch, 5 HDC in next, skip stitch, SS in next] repeat 8 times. Join to beginning ch2. FO and leave long tail for sewing.

Sewing Together

Line up the petals of the small flower with the petals of the big flower. Sew the two together around the petals of the small flower.

I hope you enjoyed this simple pattern! This flower applique can be used as a patch, a coaster, or part of wall art. The possibilities are endless. :)

The Crochet Semi-Circle Experiment

I recently experimented with crochet semi-circles for a (crazy niche) pattern I wrote. There are so many variables that influenced the final product, and I had to find the perfect combination of hook size, yarn weight and stitch count to keep my semi-circle from looking like Pacman or a rapidly disappearing pie.

The basic theory behind crocheting a semi-circle is just math—divide the stitch count of a full circle in half. So instead of (for example) crocheting 10 stitches in a magic ring and joining to make a circle, you’d start with 5 stitches in the magic ring and NOT JOIN. You would continue to work the semi-circle in ROWS, not rounds, keeping the same increases as you would for a full circle.

So how do all the variables affect the outcome? Let’s experiment.

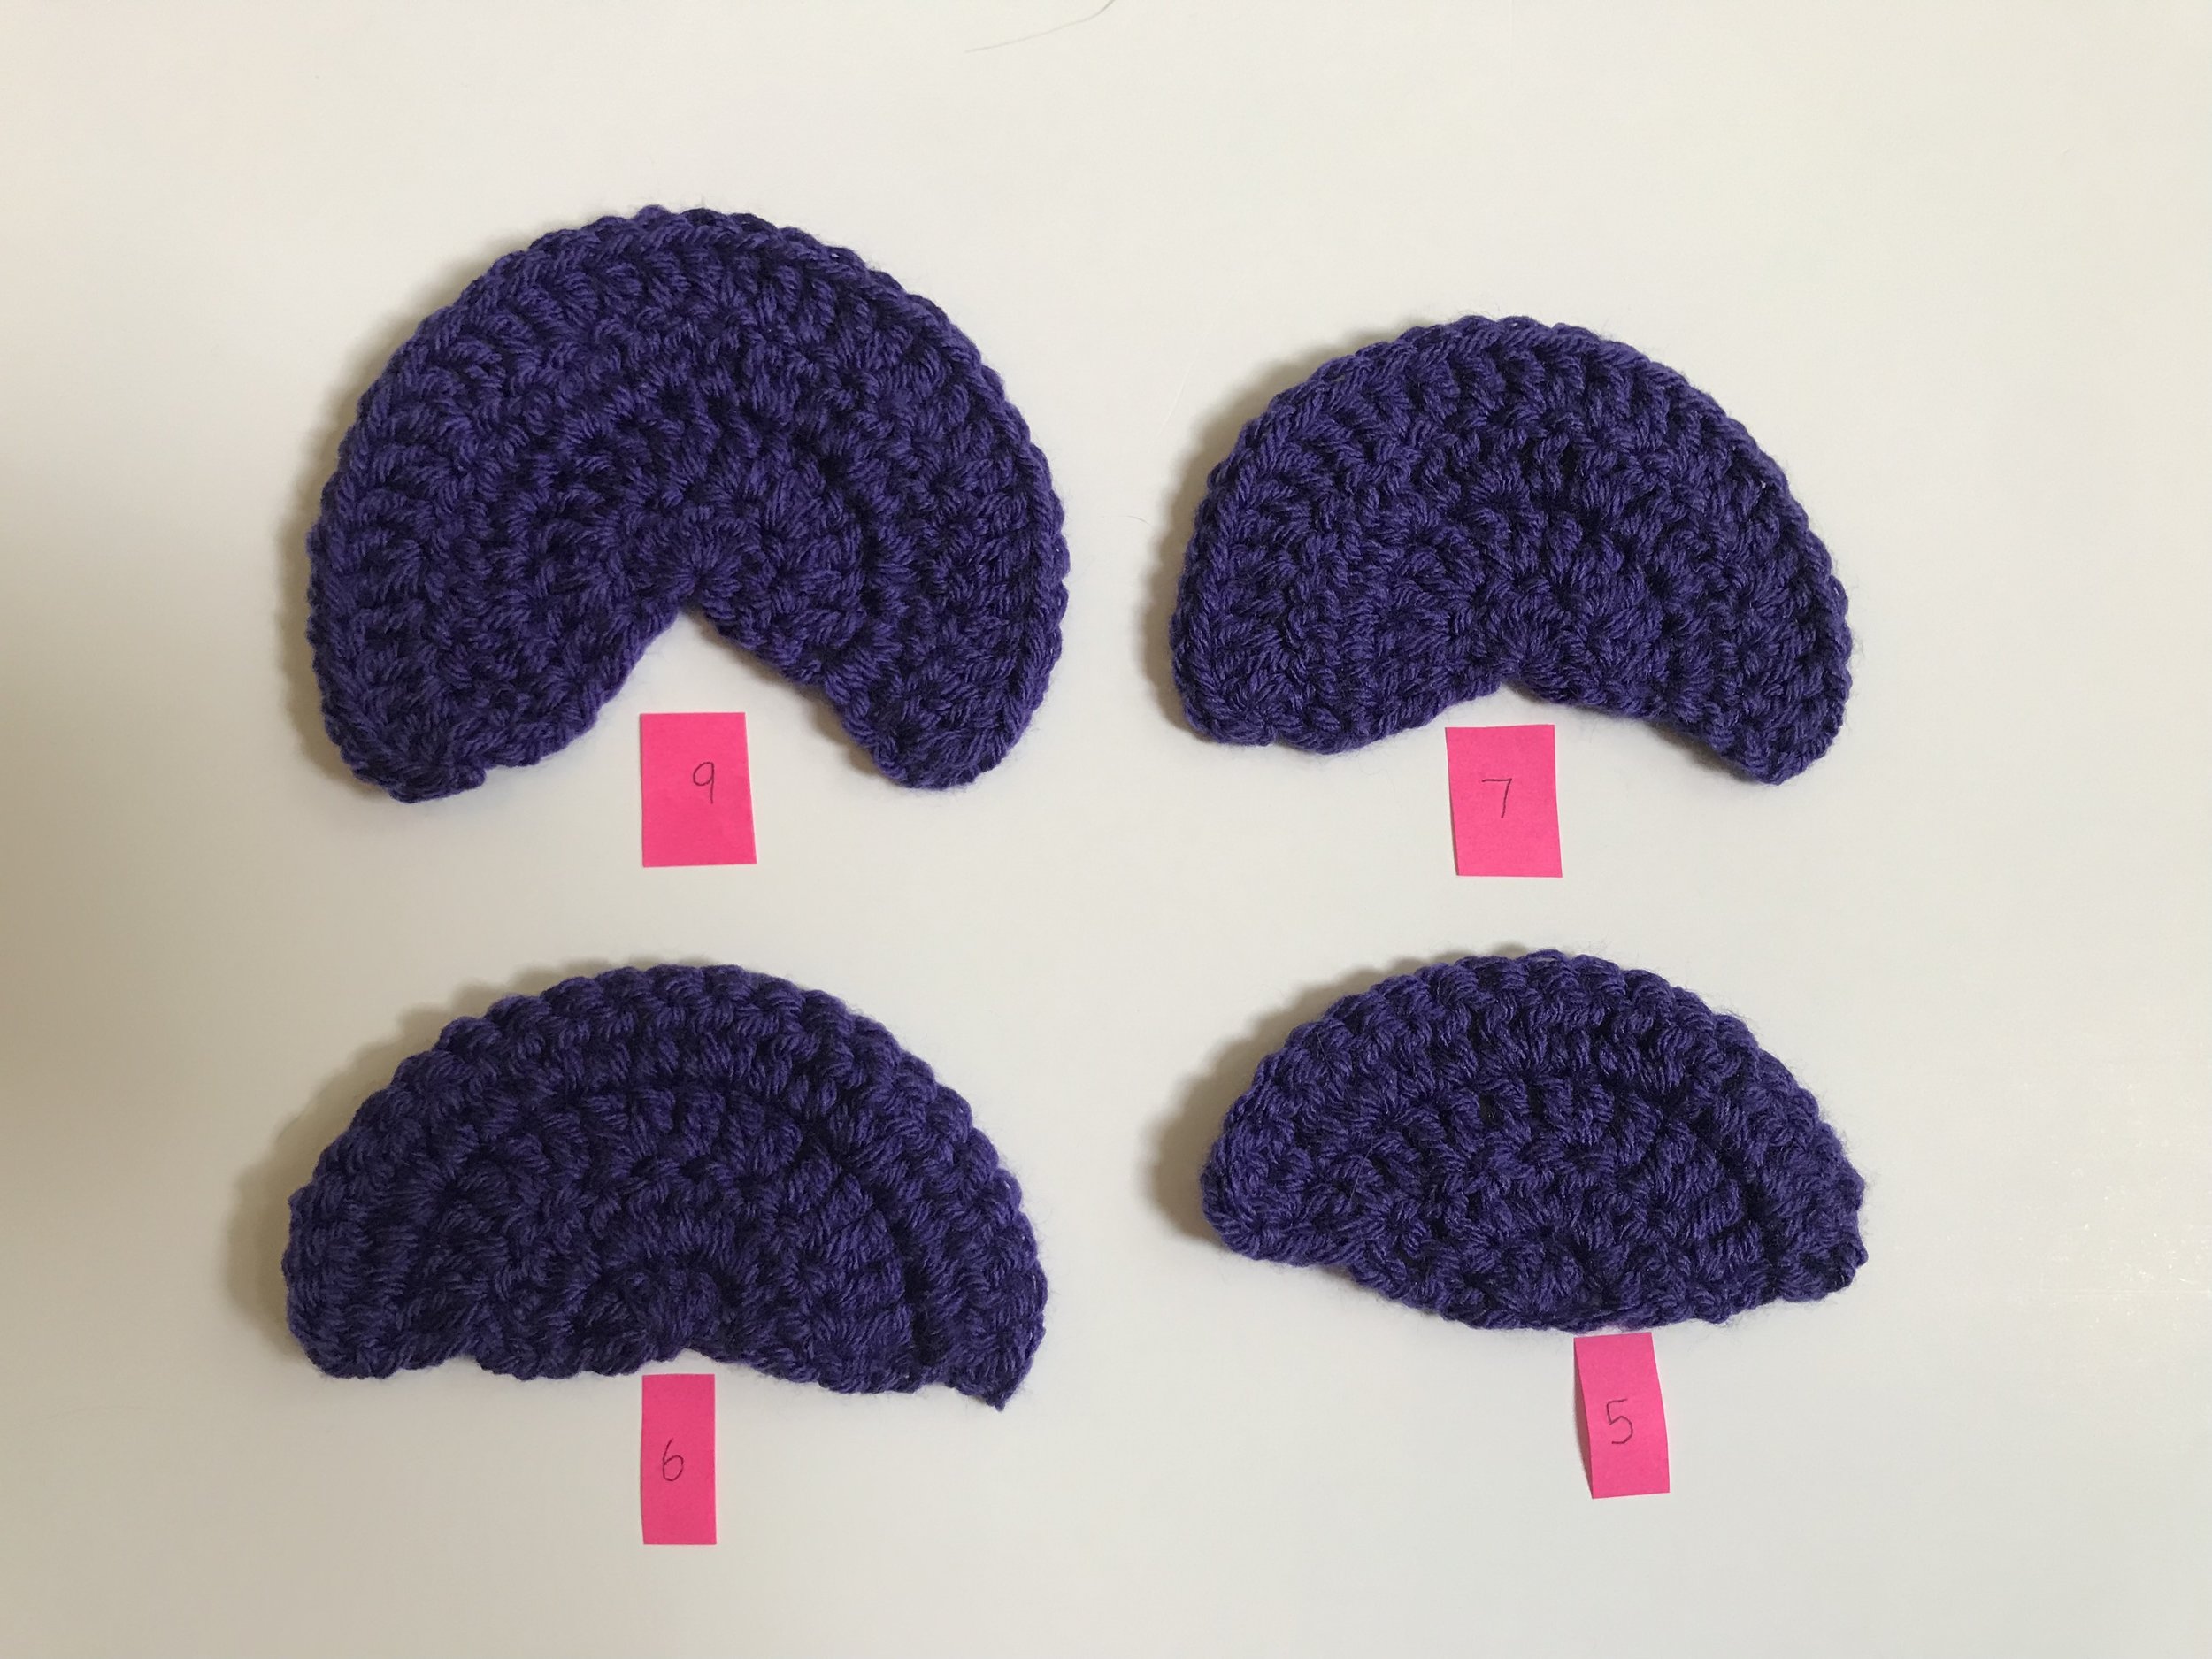
For the following semi-circles, I used a 5 mm hook and worsted weight yarn—specifically, Red Heart with Love. I made four different “specimens” with a different number of starting stitches in the magic ring—9, 7, 6, and 5.

crochet_semicircles

Obviously, the semi-circle with a starting stitch count of 6 is the clear winner! Interestingly, the specimen with the stitch count of 9 appears to be exactly 75% of a circle—which corroborates the finding that 6 is the right stitch count for half a circle. Making 12 the perfect stitch count for a full circle!

But how does hook size affect our findings? Good scientists know not to change too many variables at once, so I kept the yarn and stitch count constant—Red Heart with Love, 6 stitches.

Crochet semi circles

For this part of the experiment, I used 5 mm, 4 mm, and 3.75 mm hooks. 3.75 is really the smallest hook I would want to use on a worsted weight yarn. As you can see, the perfectness of the semi-circle was pretty much carried through, even when using a smaller hook. The 4 mm actually looked the best! But is there a limit? Let’s try a 6.5 mm hook.

crochet semi-circle

The 6.5 mm hook did the job too! A stitch count of 6 really is the magic number. As the hook size increases, the width of the stitches increase—which would suggest the semi-circle would become Pacman—but the height of the stitches increases as well. So the semi-circle stays a semi-circle. It’s just a bigger or a smaller one depending on the hook size you use.

So we’ve learned a lot from this experiment. To make a semi-circle, start with a stitch count of 6 and adjust as necessary based on yarn weight, hook size, and your personal stitch tension. We haven’t used yarn weight as a variable in this experiment, but maybe for another day!

Behind the scenes. Meow.

Behind the scenes. Meow.

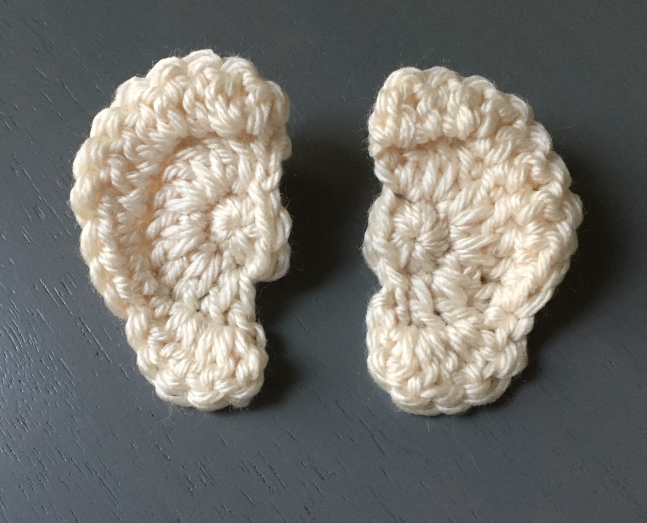
The pattern I was writing that needed a semi-circle was a bit different and actually ended up needing a starting stitch of 7! How odd, right? It’s because the increases were a little more complicated than the normal way of increasing a circle. But it spurred this great experiment, and I feel smarter for it. Do you?

Baltimore Ravens Earflaps Hat

If you're from Maryland, then you know we are serious about our sports.  This Baltimore Ravens ("inspired", ahem) earflap hat is one of my best-sellers locally.  There's no better way to show off your team pride than to wear a super-embarrassing, 3-dimensional Poe hat to the football game.  I'll be including up to size 18 months in this free pattern, as most of my customers purchased these as gifts for babies and children.  My son wore his for years, and now my daughter wears it!  The beak is stuffed with polyfil and lifts up, making it fun for kids. 

Read More

Crochet Pumpkin Blossom (applique)

Crochet Pumpkin Blossom (applique)

When one of my Etsy customers ordered a pumpkin hat but wanted something "girly" on it, I immediately set to work on crocheting a pumpkin blossom.  Of course, I had to google what a pumpkin blossom looked like.  Not proud, but I've never been the type to store things photographically in my memory.  What I AM proud of is that I nailed it on my first attempt.  So, voila- the perfect, super-easy, adorable pumpkin blossom for all your fall needs.

Read More

No-Nonsense Bib Crochet Pattern

No-Nonsense Bib Crochet Pattern

This bib is one of the most functional, hardy, practical items I've ever designed.  And I use the term "designed" loosely.  This bib is no-frills and no-nonsense.  I had three requirements in mind for this bib:

  1. It had to be washable.  No lacy "doodads" and weaved ends to unravel in the washing machine.

  2. It had to be big enough to cover the entire shirt and shoulders. 

  3. IT HAD TO NOT COME OFF. EVER.  My daughter laughs in the face of Velcro.  My ideal dream bib needed a huge button to anchor it to her neck

Read More